|
nRF5 IoT SDK
v0.9.0
|
|
nRF5 IoT SDK
v0.9.0
|
Leshan is an open source OMA Lightweight Machine to Machine (LWM2M) java client and server implementation. The project contains both client and server libraries that can be used to develop a LWM2M client and server using the Java programming language. The project contains both an example of a bootstrap server and LWM2M standalone server. To view Leshan's official repository, visit their Git Hub page.
In order to use the Leshan boostrap and LWM2M standalone server, it has to be compiled from source code. The description below is for a computer running Ubuntu.
The libraries and example servers should now be compiled and ready to use. To test that the example server is working, run the following commands.
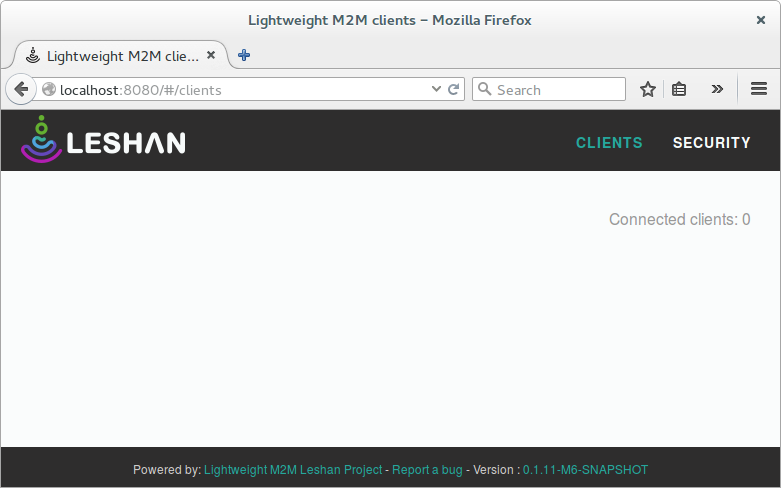
The server will bind to any network interface on the system listening on the default ports for CoAP, port 5683, and 5684 respectivly. Next, open localhost:8080 in a browser. You should see a page similar to the one in the figure below.
As the Leshan bootstrap server and LWM2M server both are running on the same machine in this setup, we can multiplex the port numbers in order to allow client applications to make use of CoAP default ports. If both servers are running on the same port they will mutually exlude eachother in port occupation. You can configure one dedicated IPv6 address for each server, allowing each server to bind to a local port of its own.
The example below shows how to add multiple addresses to an interface after you have set up a Bluetooth 6LoWPAN connection with the example provided in the SDK and using the description provided in Connecting devices to the router. The commands assume that the bt0 interface is already up running.
The interface is now ready to have one server bound to each of the IPv6 addresses separately while using the same port numbers for both. In order to start up the bootstrap server and bind it to a specific IPv6 address, you can use a command like the following.
The LWM2M standalone server could be bound to a different IPv6 address than the one used for the bootstrap server with a command as shown below.
Before any client connects to the bootstrap server it has to be configured with details about what to send to the client during bootstrap. This can be configured using a configuration file written in JSON format and performing a HTTP POST to the bootstrap server. The port used to POST the data is configured as the PORT in the command used when starting the bootstrap server.
This is an example of how a configuration file would look if no security is used.
This is an example of how a configuration file would look if security is used (DTLS-Secured CoAP).
Notice that the configuration describes security instance "0", which is not really used by any example in the SDK. This is added in order to trigger a DTLS session on the bootstrap server. There is also a flag set in order to mark this instance as bootstrap server credentials, not expecting the server to expect a server instance. Therefore, the configuration "bootstrapServer" has been added and set to "true". Translated from HEX to text, the configuration for the bootstrap server DTLS session would be:
The configuration for the server which is going to be posted to the client during bootstrap contains both a server instance description as well as a security instance. However, the security credentials defined here will be used by the LWM2M after the handshake, and a seperate step has to be taken to register the credentials for the client in the server user interface. This is described in Adding credentials for client application. Translated from HEX to text, the configuration for the LWM2M server would be:
The object configurations for the client endpoint can be saved into a file. In this document the data is expected to be saved into a file named data.json.
To insert objects into the Bootstrap server you need to POST data on the HTTP interface of the bootstrap server. The command below demonstrates how to insert objects for a client with the endpoint name "0a18de70-0ce0-4570-bce9-7f5895db6c70". The endpoint name will be part of the URI which is posted. The port number used should also be matching the one configured when starting up the bootstrap server as described in Multiplexing ports. The object configuration is located in data.json.
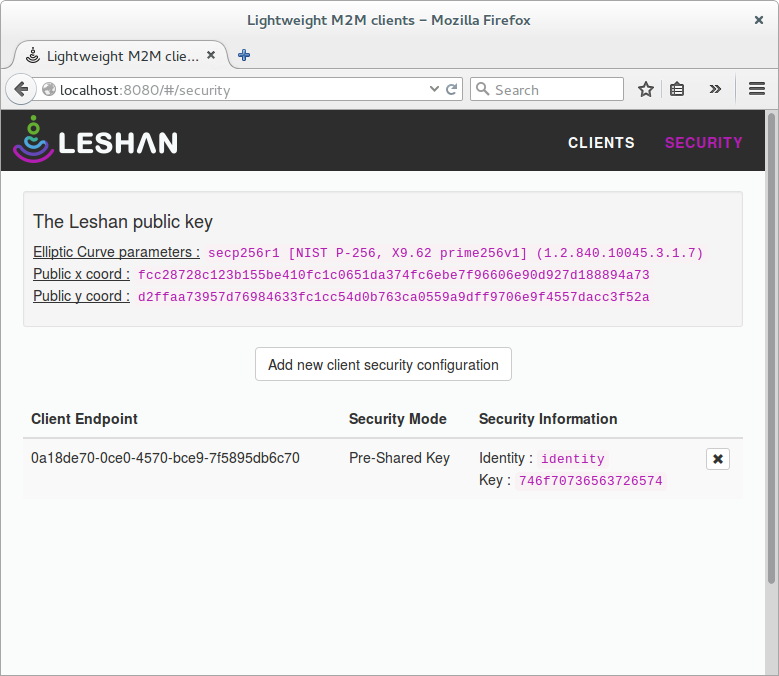
In order to successfully connect to the LWM2M standalone server with a secure connection for a client application, credentials for the specific client endpoint have to be added. The Leshan user interface in the browser can be used to add such credentials. The image below shows a typical configuration for the examples provided in the SDK.
In the following section there are two scripts that can help automate the process of starting the bootstrap server and the LWM2M standalone server. The scripts assume that there is an object configuration file (data.json) for the bootstrap server located in the root of the leshan Git clone. There is an assumption in the scripts that they are initiated from the same root folder.
The script below will start up the bootstrap server, binding the HTTP interface to port 8888. It will also bind the server CoAP interface to port 5683 and 5684 on the IPv6 address 2001:db8::1
The script below will start up the LWM2M standalone server. It will bind the server to the server CoAP interface to port 5683 and 5684 on the IPv6 address 2001:db8::2.
 1.8.3.1
