Installing automatically
nRF Connect for Desktop, a cross-platform tool available for Windows, Linux, and macOS, provides different apps that simplify installing the nRF Connect SDK.
Note
When installing the nRF Connect SDK through the Getting Started Assistant app, you will not be able to build on the command line using west.
On Windows or macOS, use the Toolchain Manager. On Linux, use the Getting Started Assistant or follow the steps found on the Installing manually page.
Before you start setting up the toolchain, install available updates for your operating system. See Requirements for information on the supported operating systems and Zephyr features.
Toolchain Manager
The Toolchain manager app is available for Windows and macOS. It installs the full toolchain that you need to work with the nRF Connect SDK, including the nRF Connect for Visual Studio Code extension, SEGGER Embedded Studio, and the nRF Connect SDK source code.
Installing the Toolchain Manager
To install the Toolchain Manager app, complete the following steps:
Download nRF Connect for Desktop for your operating system.
Install and run the tool on your machine.
In the APPS section, click Install next to Toolchain Manager.
The app is installed on your machine, and the Install button changes to Open.
Installing the nRF Connect SDK
Once you have installed the Toolchain Manager, open it in nRF Connect for Desktop.
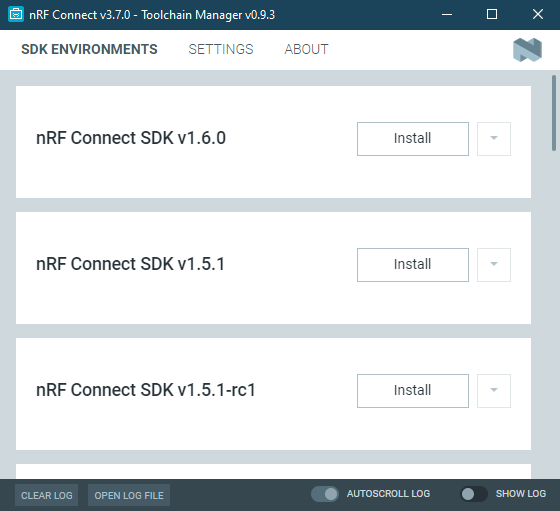
The Toolchain Manager window
Click Settings in the navigation bar to specify where you want to install the nRF Connect SDK. Then, in SDK Environments, click the Install button next to the nRF Connect SDK version that you want to install. The nRF Connect SDK version of your choice is installed on your machine.
There are several ways you can build an application:
To build with nRF Connect for Visual Studio Code, click on the Open VS Code button.
To build with SEGGER Embedded Studio, click on the Open Segger Embedded Studio button.
To build on the command line, use the following steps:
With admin permissions enabled, download and install the nRF Command Line Tools.
Restart the Toolchain Manager application.
Follow the instructions in Building on the command line.
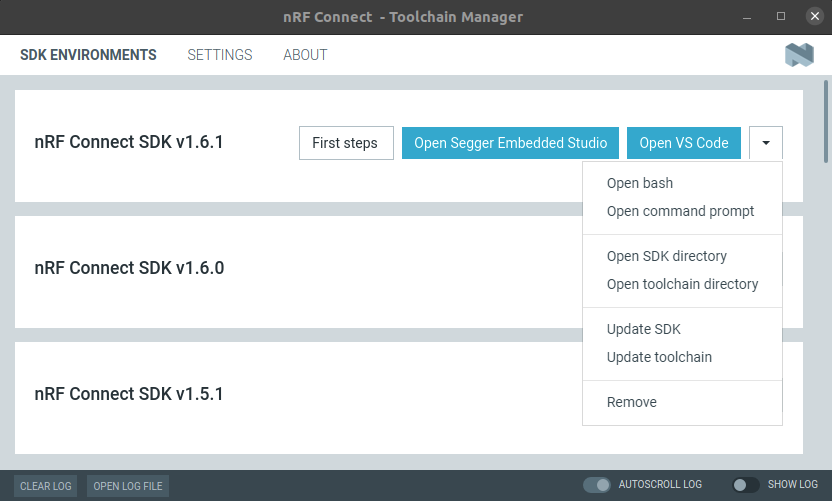
The Toolchain Manager dropdown menu options
Getting Started Assistant
The Getting Started Assistant app is the automatic installation option for Linux. It provides you with step-by-step instructions for installing the toolchain for nRF Connect SDK.
The app allows you to check which of the required tools are already installed on your computer and verify the installation. It also guides you through installing the parts of the toolchain that you are missing. In addition, it will help you clone the nRF Connect SDK repositories and set up your first project in SEGGER Embedded Studio.
Note
When installing the nRF Connect SDK through the Getting Started Assistant app, you must build with SEGGER Embedded Studio. You will not be able to build on the command line using west.
Installing the Getting Started Assistant
To install the Assistant app, complete the following steps:
Download nRF Connect for Desktop for your operating system.
Install and run the tool on your machine.
In the APPS section, click Install next to Getting Started Assistant.
The nRF Connect for Desktop main window
The app is installed on your machine, and the Install button changes to Open.
Installing the nRF Connect SDK
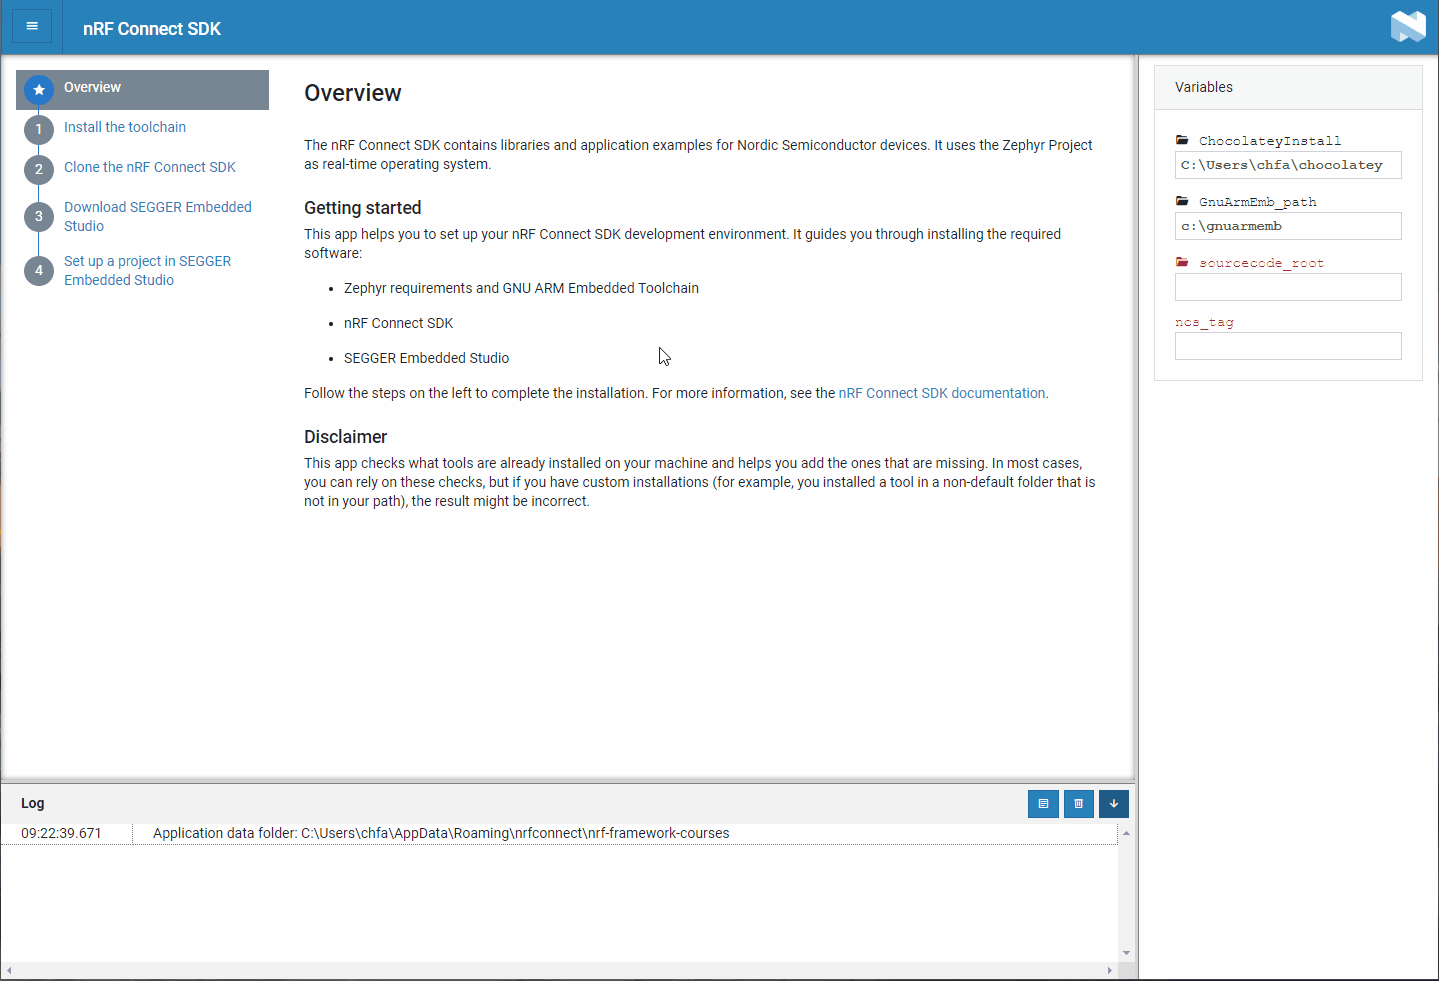
Once you have installed Getting Started Assistant, open it in nRF Connect for Desktop. The Getting Started Assistant app opens with the Overview section displayed in the main window.
You can now go through each of the sections and complete the listed installation steps.
To provide installation variables, use the Variables section. If you need to edit any of the fields, click on it.
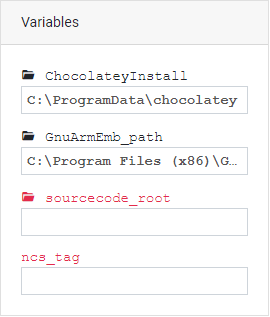
The Variables section
Verification options
Next to each step, you can use one or both of the following buttons:
Mark done – marks a step as completed.
Verify – checks if the installation is correct.
The verification process is reflected in the vertical progress bar animation. Once the verification is successful, the vertical progress bar changes color to green and the Log section is updated. At the same time, the Mark done button changes to Mark not done.
Example of how to verify the nRF Connect SDK toolchain installation
If there is an issue, the Log section is updated with the related error.

The Log section with an error highlighted in red