nRF9160 Thing Plus
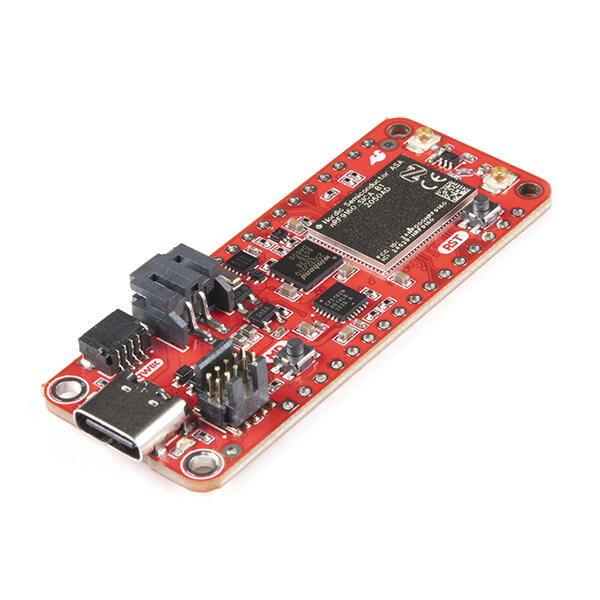
nRF9160 Thing Plus (Credit: Sparkfun)
Overview
The nRF9160 Thing Plus designed by Circuit Dojo is a single-board development for bringing your LTE-M and NB-IoT applications to life. The sparkfun_thing_plus_nrf9160 board configuration leverages the pre-existing support for the Nordic Semiconductor nRF9160. Supported nRF9160 peripherals include:
ADC
CLOCK
FLASH
GPIO
I2C
MPU
NVIC
PWM
RTC
Segger RTT (RTT Console)
SPI
UARTE
WDT
IDAU
More information about the board can be found at the nRF9160 Thing Plus Documentation [1].
Hardware
Connections and IOs
The nRF9160 Thing Plus has everything you know and love about the Feather platform. Here are some of the highlights:
LED
D7 (blue) = P0.03
USB
Contains a USB/UART connection for both debugging and loading new code using a UART Enabled MCUBoot.
Standard Battery Connection
The nRF9160 Thing Plus has a 2 pin battery connector on board. Lithium Polymer batteries > 300mA required.
Nano SIM Holder
The nRF9160 Thing Plus has a built-in nano SIM (4FF) holder located on the bottom side.
Programming and Debugging
sparkfun_thing_plus_nrf9160 can be used with most programmers like:
J-Link (the nRF53-DK is recommended)
CMSIS-DAP based programmers
Check out Getting Started [2] for more info.
Building an application
In most cases you’ll want to use the ns target with any of the Zephyr
or Nordic based examples.
Some of the examples do not use secure mode, so they do not required the ns suffix.
A great example of this is the hello_world below.
Flashing
Follow the instructions in the Nordic nRF5x Segger J-Link page to install and configure all the necessary software. Further information can be found in Flashing. Then build and flash applications as usual (see Building an Application and Run an Application for more details).
Here is an example for the Hello World application.
First, run your favorite terminal program to listen for output.
$ screen /dev/<tty_device> 115200
Replace <tty_device> with the port where the nRF9160 Thing Plus
can be found. In most cases (On Linux/Mac) it will be: /dev/tty.SLAB_USBtoUART.
Then build and flash the application in the usual way.
# From the root of the zephyr repository
west build -b sparkfun_thing_plus_nrf9160 samples/hello_world
west flash
Debugging
Refer to the Nordic nRF5x Segger J-Link page to learn about debugging Nordic boards with a Segger IC.
References
Side note This page was based on the documentation for the nRF9160 DK. Thanks to Nordic for developing a great platform!