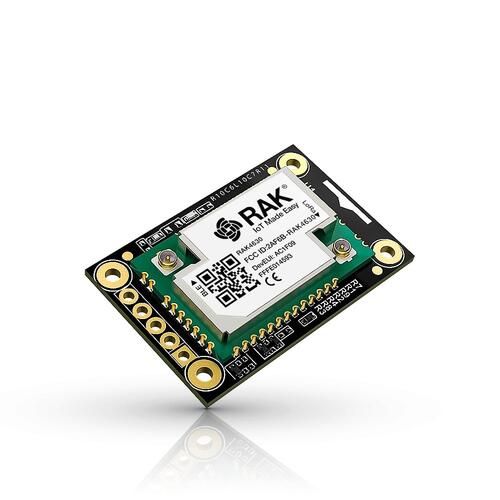
RAK4631
Overview
RAK4631 is a WisBlock Core module for RAK WisBlock. It extends the WisBlock series with a powerful Nordic nRF52840 MCU that supports Bluetooth 5.0 (Bluetooth Low Energy) and the newest LoRa transceiver from Semtech, the SX1262. The Semtech SX1262 has compared to the older SX127x series a lower power consumption at the same TX power. This makes the RAK4631 an ultra-low power communication solution. RAK4631 can be comfortably programmed with ZephyrRTOS.
Hardware
To use a RAK4631, you need at least a WisBlock Base to plug the module in. WisBlock Base is the power supply for the RAK4631 module and has the programming/debug interface.
nRF52840 ARM Cortex-M4F Processor
64 MHz CPU clock
1 Micro-AB USB OTG host/device
Semtech SX1262 low power high range LoRa transceiver
iPEX connectors for the LORA antenna and BLE antenna.
Multiple interfaces, I2C, UART, GPIO, ADC
2 user LEDs on RAK5005 mother Board
Powered by either Micro USB, 3.7V rechargeable battery or a 5V Solar Panel Port
Supported Features
The rak4631_nrf52840 board configuration supports the following hardware features:
Interface |
Controller |
Driver/Component |
|---|---|---|
ADC |
on-chip |
adc |
CLOCK |
on-chip |
clock_control |
FLASH |
on-chip |
flash |
GPIO |
on-chip |
gpio |
I2C(M) |
on-chip |
i2c |
MPU |
on-chip |
arch/arm |
NVIC |
on-chip |
arch/arm |
PWM |
on-chip |
pwm |
RADIO |
on-chip |
Bluetooth, ieee802154 |
RADIO |
on-board |
LoRa (SX1262) |
RTC |
on-chip |
system clock |
SPI(M/S) |
on-chip |
spi |
UART |
on-chip |
serial |
USB |
on-chip |
usb |
WDT |
on-chip |
watchdog |
The default board configuration can be found in the defconfig file:
boards/arm/rak4631_nrf52840/rak4631_nrf52840_defconfig
Connections and IOs
LED
LED1 (green) = P1.3
LED2 (blue) = P1.4
Programming and Debugging
The RAK4631 board shall be connected to a Segger Embedded Debugger Unit J-Link OB. This provides a debug interface to the NRF52840 chip. You can use JLink to communicate with the NRF52840.
Flashing
Download JLink from the Segger JLink Downloads Page [1]. Go to the section “J-Link Software and Documentation Pack” and install the “J-Link Software and Documentation pack for Linux”. The application JLinkExe needs to be accessible from your path.
Run your favorite terminal program to listen for output. Under Linux the terminal should be
/dev/ttyACM0. For example:$ minicom -D /dev/ttyACM0 -o
The -o option tells minicom not to send the modem initialization string. Connection should be configured as follows:
Speed: 115200
Data: 8 bits
Parity: None
Stop bits: 1
Connect the RAK4631 board to your host computer using the USB debug port. Then build and flash the Hello World application.
# From the root of the zephyr repository
west build -b rak4631_nrf52840 samples/hello_world
west flash
You should see “Hello World! rak4631_nrf52840” in your terminal.
Debugging
You can debug an application in the usual way. Here is an example for the Hello World application.
# From the root of the zephyr repository
west build -b rak4631_nrf52840 samples/hello_world
west debug