Edge Impulse: Wrapper
The Edge Impulse wrapper sample demonstrates the functionality of the Edge Impulse wrapper. It shows how to use the wrapper to run a custom Edge Impulse machine learning model when integrating Edge Impulse with the |NCS|.
Requirements
The sample supports the following development kits:
Hardware platforms |
PCA |
Board name |
Build target |
|---|---|---|---|
PCA10090 |
|
||
PCA10095 |
|
||
PCA10040 |
|
||
PCA10056 |
|
When built for an _ns build target, the sample is configured to compile and run as a non-secure application with Cortex-M Security Extensions enabled.
Therefore, it automatically includes Trusted Firmware-M that prepares the required peripherals and secure services to be available for the application.
Overview
The sample:
Initializes the Edge Impulse wrapper.
Provides input data to the wrapper.
Starts predictions using the machine learning model.
Displays the prediction results to the user.
By default, the sample uses a pretrained machine learning model and input data representing a sine wave.
Configuration
See Configuring and building an application for information about how to permanently or temporarily change the configuration.
Using your own machine learning model
To run the sample using a custom machine learning model, you must complete the following setup:
Configure the Edge Impulse wrapper by completing the following steps:
Prepare your own machine learning model using Edge Impulse studio.
Set the
CONFIG_EDGE_IMPULSE_URIto URI of your machine learning model.
See the Edge Impulse wrapper page for detailed configuration steps.
Define the input data for the machine learning model in
samples/edge_impulse/wrapper/src/include/input_data.h.Check the example input data in your Edge Impulse studio project:
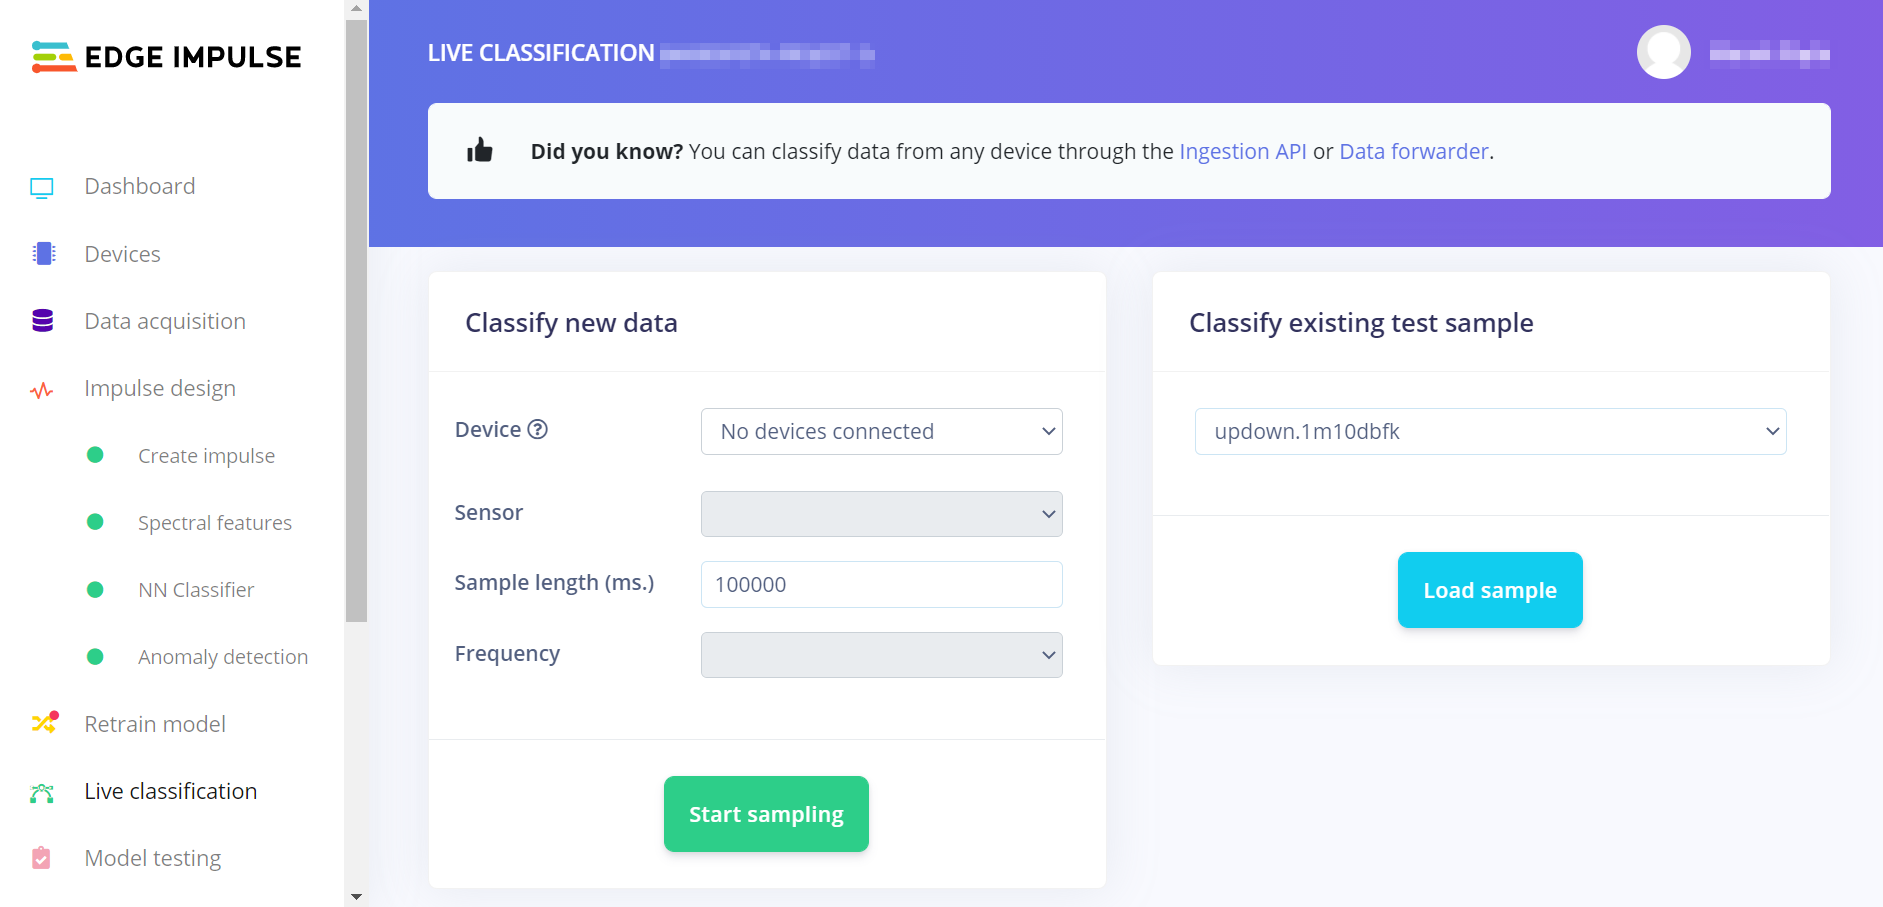
Go to the Live classification tab.
In the Classifying existing test sample panel, select one of the test samples.
Click Load sample to display the raw data preview.

Loading test sample input data in Edge Impulse studio
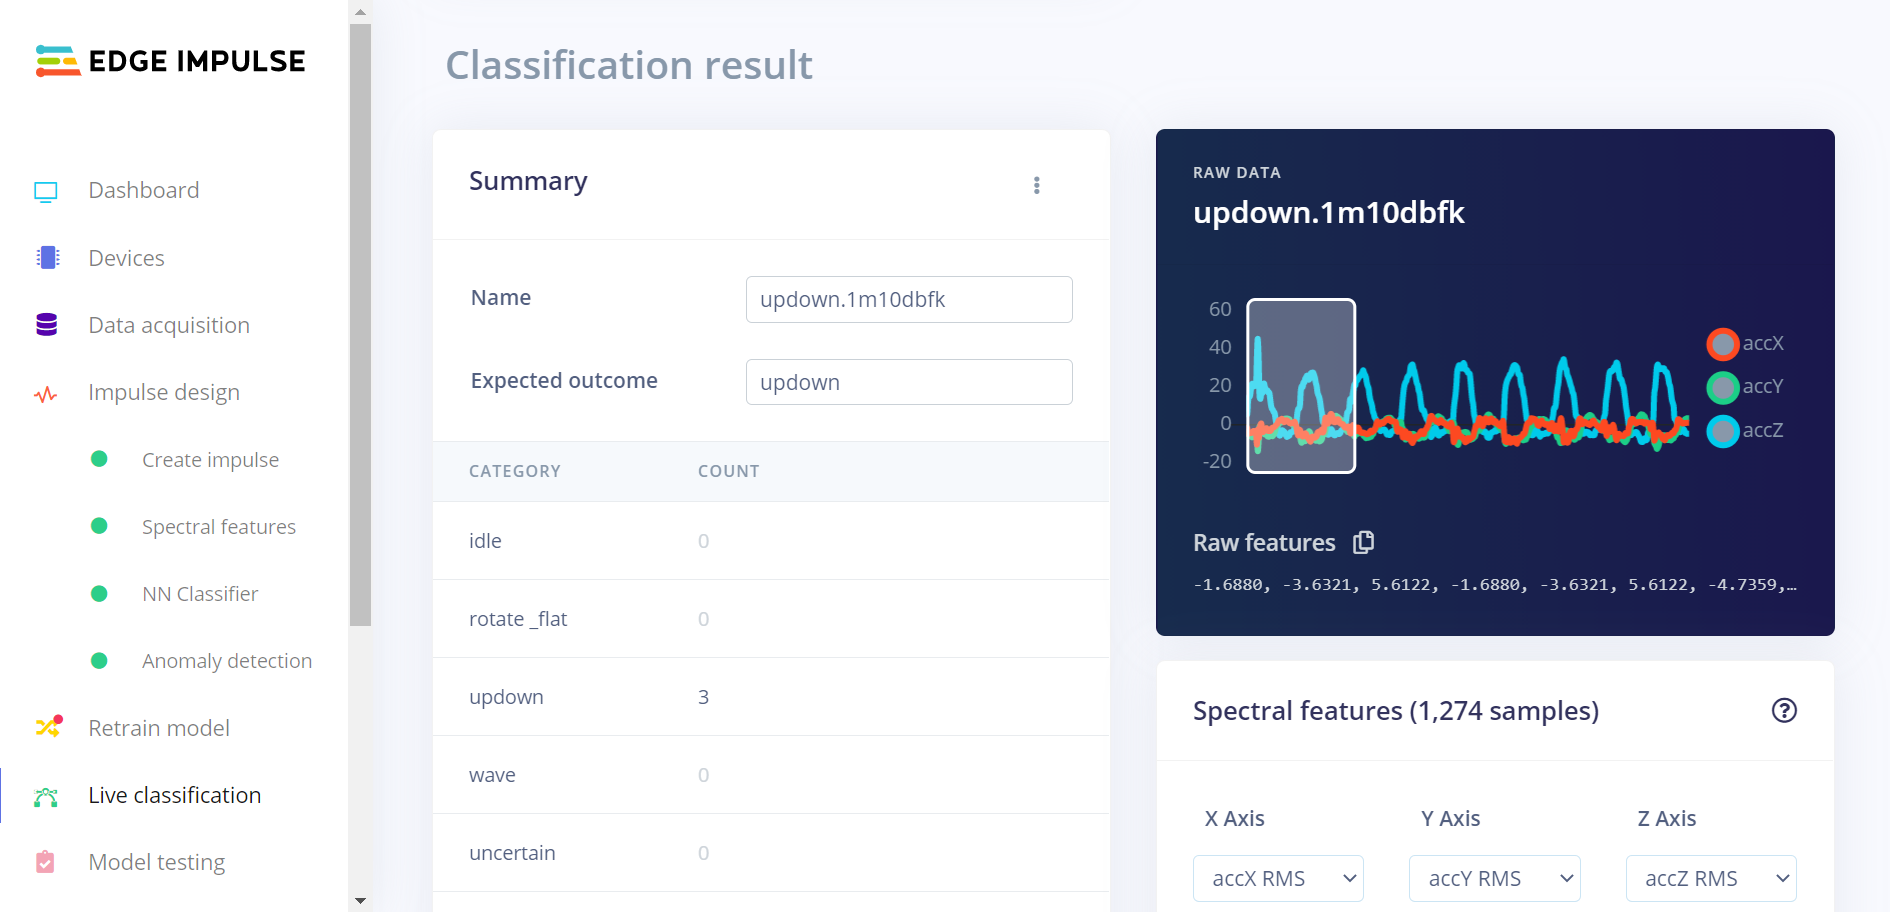
The classification results will be displayed, with raw data preview.

Raw data preview in Edge Impulse studio
Copy information from the Raw features list into an array defined in the
input_data.hfile.
Note
If you provide more input data than a single input window can hold, the prediction will be triggered multiple times. The input window will be shifted by one input frame between subsequent predictions. The prediction will be retriggered until there is no more input data.
Building and running
This sample can be found under samples/edge_impulse/wrapper in the nRF Connect SDK folder structure.
When built as firmware image for the _ns build target, the sample has Cortex-M Security Extensions (CMSE) enabled and separates the firmware between Non-Secure Processing Environment (NSPE) and Secure Processing Environment (SPE).
Because of this, it automatically includes the Trusted Firmware-M (TF-M).
To read more about CMSE, see Processing environments.
To build the sample with Visual Studio Code, follow the steps listed on the How to build an application page in the nRF Connect for VS Code extension documentation. See Configuring and building an application for other building scenarios, Programming an application for programming steps, and Testing and optimization for general information about testing and debugging in the nRF Connect SDK.
Testing
After programming the sample to your development kit, test it by performing the following steps:
Connect to the kit with a terminal emulator (for example, nRF Connect Serial Terminal). See Testing and optimization for the required settings and steps.
Reset the kit.
Observe that output similar to the following is logged on UART:
* Booting Zephyr OS build v2.6.99-ncs1-14-g15be5e615498  *
Machine learning model sampling frequency: 52
Labels assigned by the model:
- idle
- sine
- triangle

Prediction started...

Classification results
======================
Value: 1.00     Label: sine
Value: 0.00     Label: triangle
Value: 0.00     Label: idle
Anomaly: -0.07
The observed classification results depend on machine learning model and input data.
Dependencies
This sample uses the following nRF Connect SDK subsystems:
In addition, it uses the following secure firmware component:
