This guide helps you get started with Thingy:91.
It tells you how to update the Thingy:91 application and modem firmware and connect the Thingy:91 to nRF Cloud.
nano-Subscriber Identity Module (SIM) card that supports LTE-M or Narrowband Internet of Things (NB-IoT) (The Thingy:91 comes shipped with an iBasis SIM card.)
Thingy:91 (v1.5.0 or lower) comes preloaded with the nRF9160: Asset Tracker firmware and modem firmware on the nRF9160 System in Package (SiP), and the Connectivity bridge application firmware on the nRF52840 System on Chip (SoC) that enable the device to use the environment sensors and track the device using Global Positioning System (GPS).
The data is transmitted to nRF Cloud.
Before you start using the Thingy:91, it is recommended that you update the application firmware to nRF9160: Asset Tracker v2.
You must also update the modem firmware.
You can do this through Universal Serial Bus (USB) (MCUboot) or an external debug probe using the Programmer application.
Note
To update the Thingy:91 through USB, the nRF9160 SiP and nRF52840 SoC bootloaders must be factory-compatible.
The bootloaders might not be factory-compatible if the nRF9160 SiP or nRF52840 SoC has been updated with an external debug probe.
To restore the bootloaders, program the nRF9160 SiP or nRF52840 SoC with the Thingy:91 firmware files through an external debug probe.
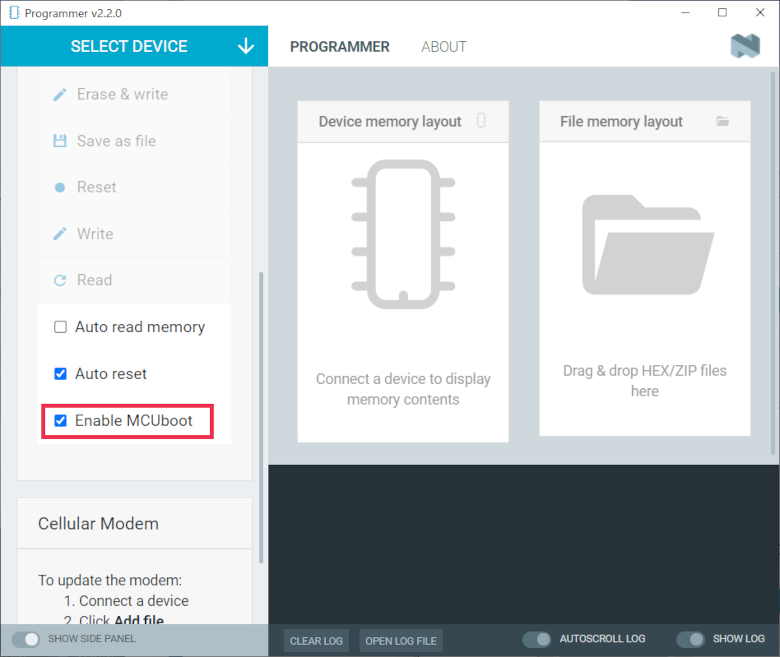
You can update the Thingy:91 application and modem firmware over Universal Serial Bus (USB) by using MCUboot, which is a secure bootloader that can be used to update applications without an external debugger.
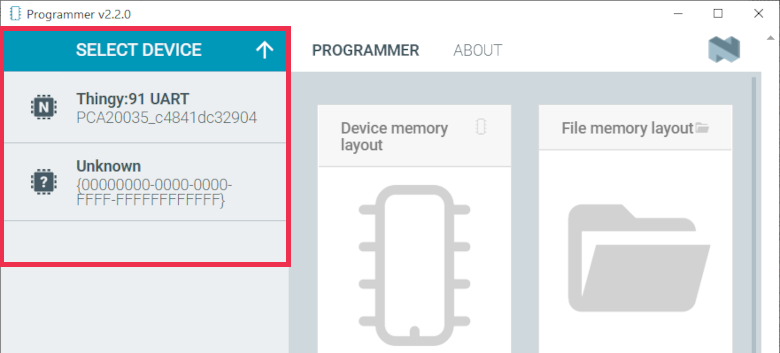
Before you start, make sure the Thingy:91 is connected to the computer with a micro-USB cable.
Note
Do not unplug the Nordic Thingy:91 during this process.
To update the firmware, complete the following steps:
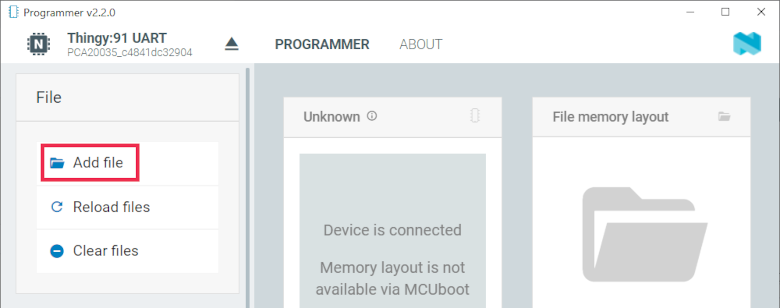
Open the folder that contains the HEX files for updating over USB.
See the CONTENTS.txt file for information on which file you need.
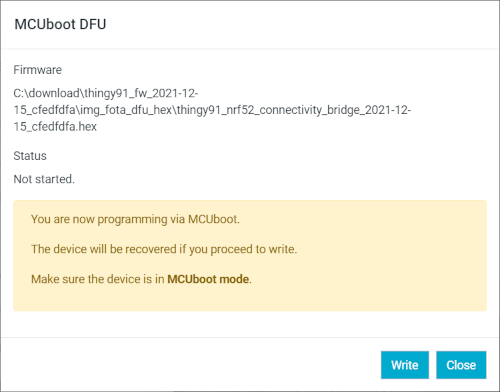
Select the appropriate Asset Tracker v2 firmware file.
Note
If you are connecting over NB-IoT and your operator does not support ePCO, select the file that has legacy Protocol Configuration Options (PCO) mode enabled.
Click Open.
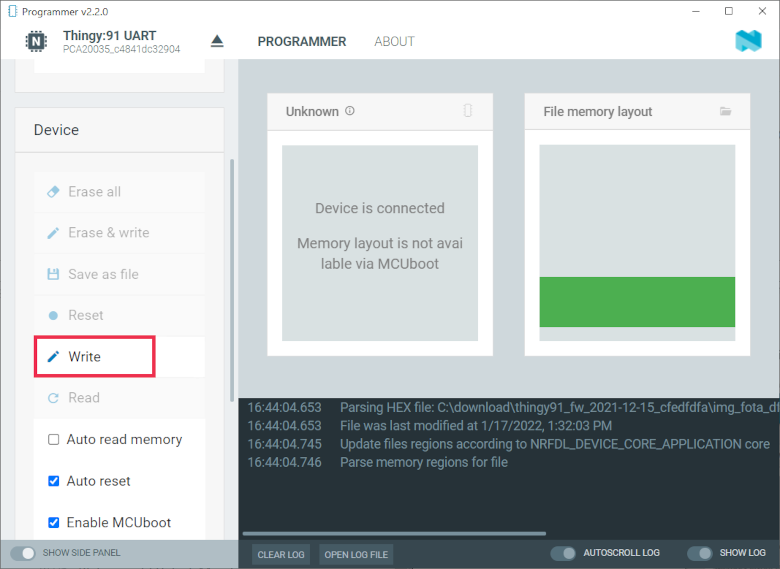
Scroll down in the menu on the left to Device and click Write.
You can update the Thingy:91 application and modem firmware by using an external debug probe.
Note
The external debug probe must support Arm Cortex-M33, such as the nRF9160 DK.
You need a 10-pin 2x5 socket-socket 1.27 mm IDC (Serial Wire Debug (SWD)) JTAG cable to connect to the external debug probe.
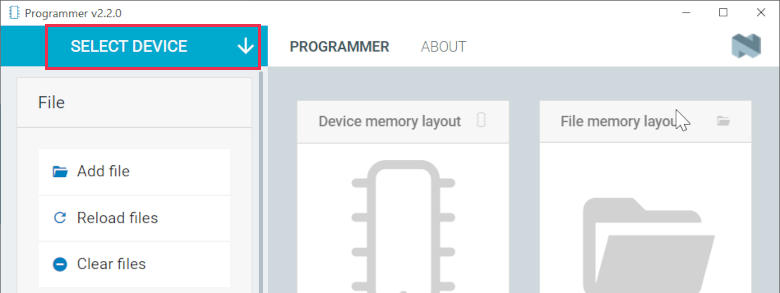
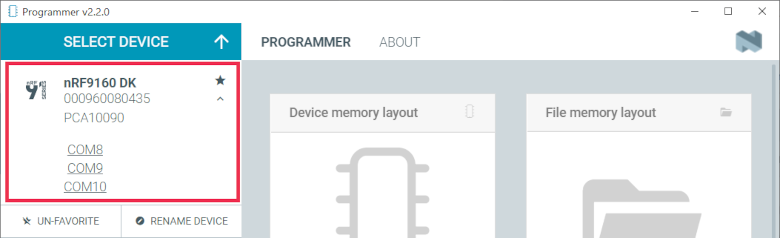
To update the firmware, complete the following steps. In these steps, the nRF9160 DK is used as the external debug probe.
If the three COM ports are not visible, press Ctrl+R in Windows or command+R in macOS to restart the Programmer application.
The button text changes to the SEGGER ID of the selected device, and the Device Memory Layout section indicates that the device is connected.
Update the nRF52840 System on Chip (SoC) application:
Set the SWD selection switch SW2 to nRF52.
See SWD Select for more information on the switch.
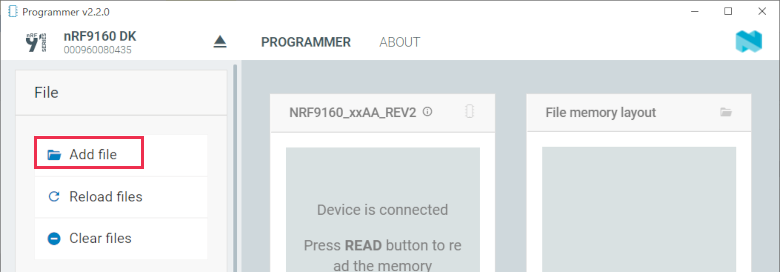
In the menu on the left, click Add file in the File section, and select Browse.
A file explorer window appears.
Open the folder that contains the HEX files for updating over USB.
See the CONTENTS.txt file for information on which file you need.
Select the Connectivity bridge firmware file.
Click Open.
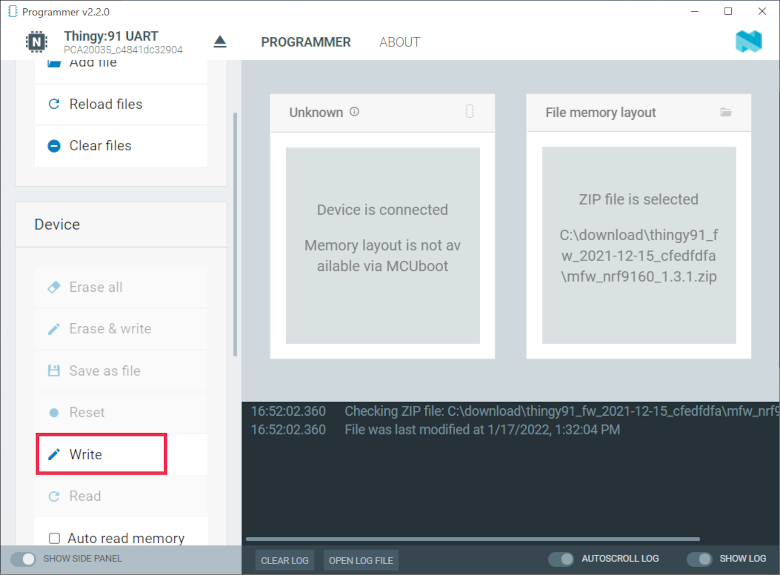
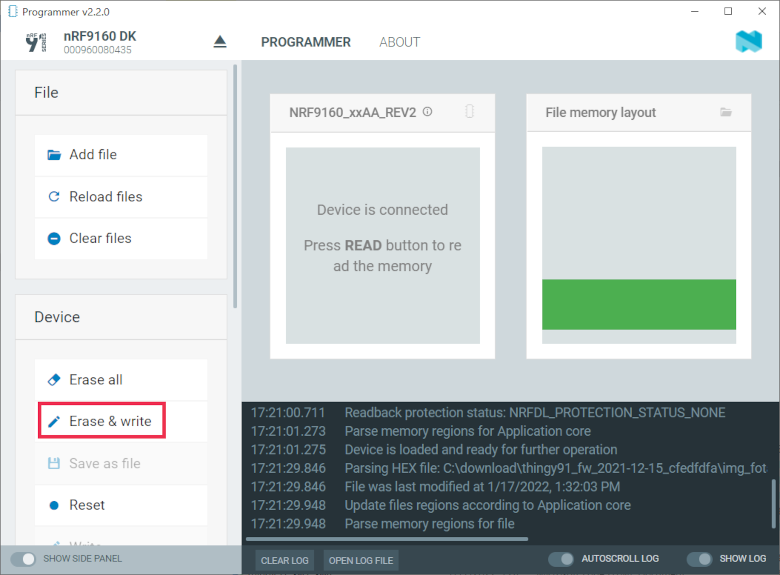
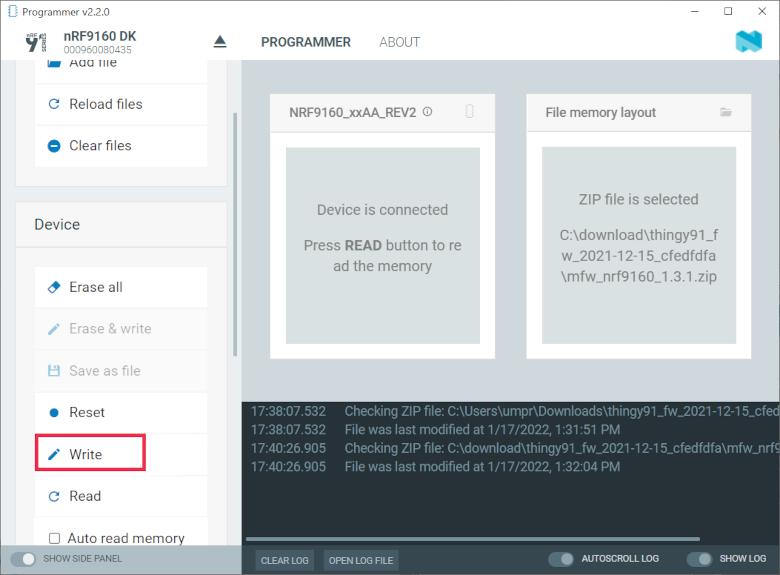
Scroll down in the menu on the left to Device and click Erase & write.
The update is completed when the animation in Programmer’s Device memory layout window ends.
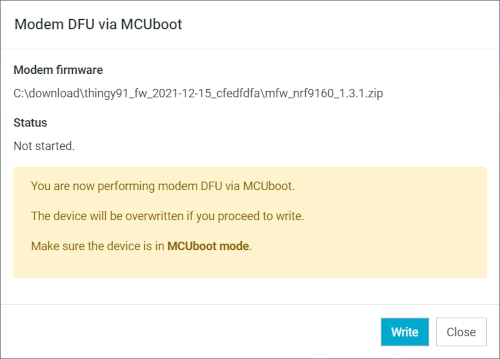
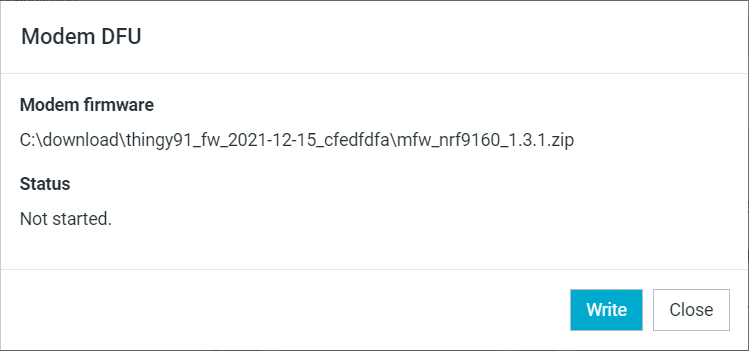
In the Modem DFU window, click Write.
When the update is complete, a Completed successfully message appears.
Note
If you have issues updating modem firmware, click Erase all before trying to update the modem again. In this case, the contents of the flash memory are deleted and the applications must be reprogrammed.
Update the nRF9160 SiP application:
Make sure the SWD selection switch SW2 is set to nRF91.
In the menu on the left, click Add file in the File section, and select Browse.
A file explorer window appears.
Open the folder that contains the HEX files for updating over USB.
See the CONTENTS.txt file for information on which file you need.
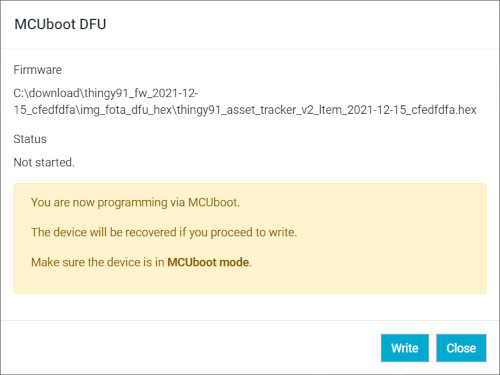
Select the appropriate Asset Tracker v2 firmware file.
Click Open.
Scroll down in the menu on the left to Device and click Erase & write.
The update is completed when the animation in Programmer’s Device memory layout window ends.
Enter your email address and choose a password, then click Create Account.
nRF Cloud will send you a verification email.
Copy the 6-digit verification code and paste it into the registration dialog box.
If you do not see the verification email, check your junk mail for an email from no-reply@verificationemail.com.
If you closed the registration dialog box, you can repeat Step 1 and then click Already have a code?.
Then enter your email and the verification code.
You can now sign in on nRF Cloud with your email and the password your chose.
After signing in, you are directed to the dashboard view that displays your device count and service usage.
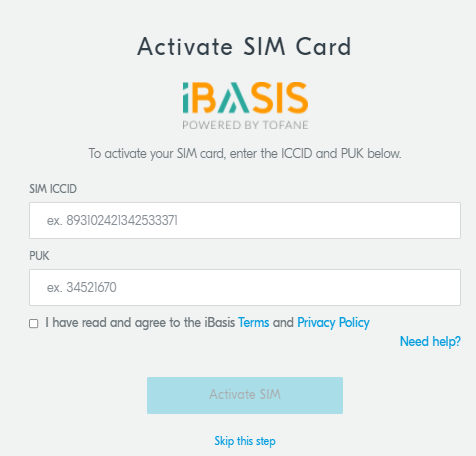
Next, you need to activate the SIM card for the Thingy:91.
To start using nRF Cloud, you need to associate the Thingy:91 to your user account.
To connect the Thingy:91 to nRF Cloud and to associate it with your user account,
complete the following steps:
Make sure the Thingy:91 is switched on.
Wait for the Thingy:91 to connect to the LTE network and to nRF Cloud.
After a few moments, the nRF Cloud user association process starts.
This is indicated by white double pulse blinking of the Thingy:91’s RGB LED as indicated in Operating states.
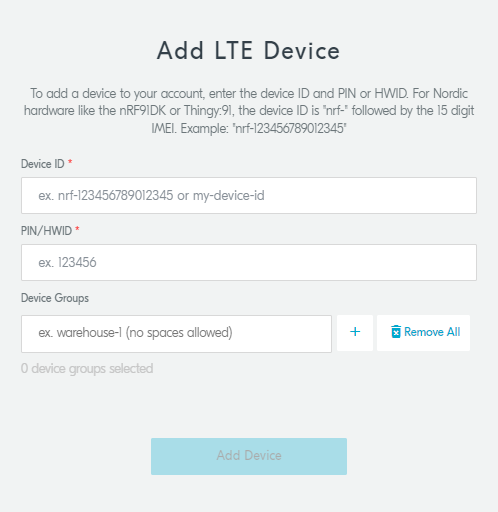
To complete the user association, navigate to nRF Cloud.
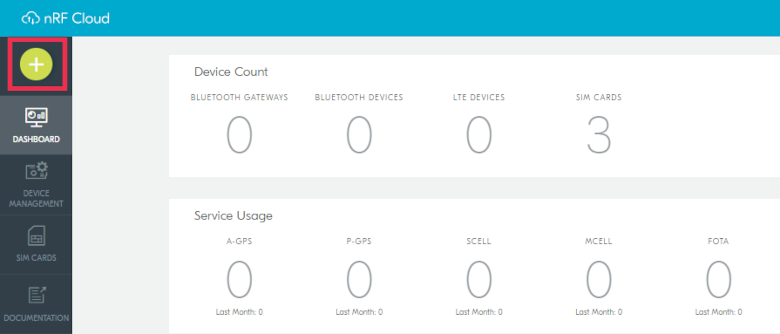
Click the large plus sign in the upper-left corner.
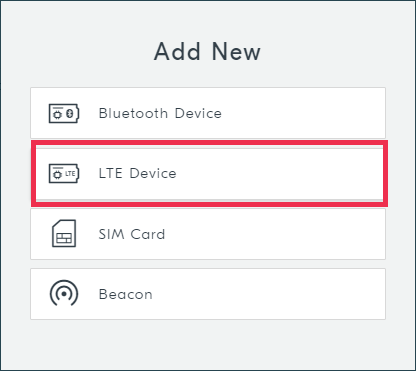
The Add New window appears.
In the Device ID field, enter the text nrf- and after it the Thingy:91 International Mobile (Station) Equipment Identity (IMEI) code.
The IMEI is the 15 digit code which you can find on a white sticker on the Thingy:91.
The Device ID is case sensitive, so make sure all the letters are lower-case.
In the PIN/HWID field, enter the Personal Identification Number (PIN) which is printed on the white sticker on the Thingy:91.
Click Add Device.
The message Device added to account. Waiting for it to connect… appears.
Note
If you see an error message, check the error code and see nRF Cloud REST API (v1) in nRF Cloud to find out what is causing the error.
When the message has disappeared, go to the menu on the left and click Devices.
You can see the Thingy:91 in your device list and all the sensor data being transmitted to the cloud from the Thingy:91.
The LED on the Thingy:91 should be blinking green, which indicates that it is transmitting all the data to the cloud.
Note
It might take a while for the sensor data to appear in the nRF Cloud UI, depending on the duration of time GNSS uses to search for a fix.