 |
nRF51 IoT SDK
|
|
nRF51 IoT SDK
|
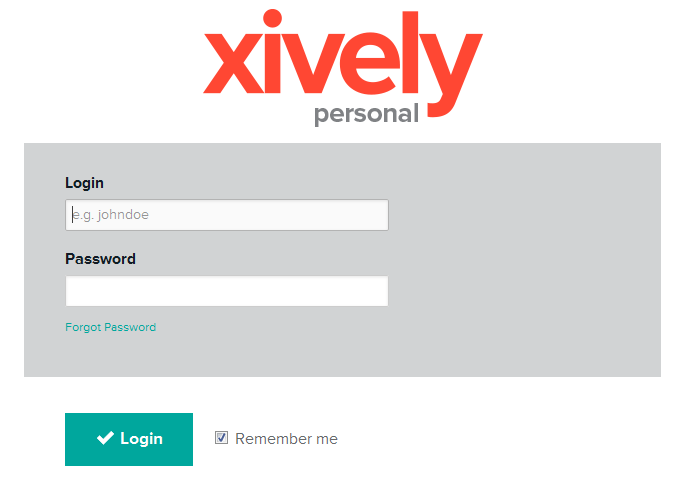
After activating your Xively Personal login details, enter the Xively Personal website and log in to the website portal (Figure 1).
The needed steps for creating a device are presented below. However, for a broader overview it is advisable to read the Getting started tutorial.
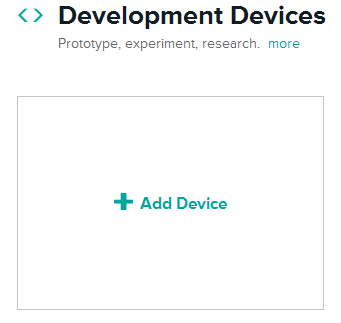
Create a device representing your IoT Device (nRF51 kit) (Figure 2).
Add some information about device to make it more easily recognizable (Figure 3).
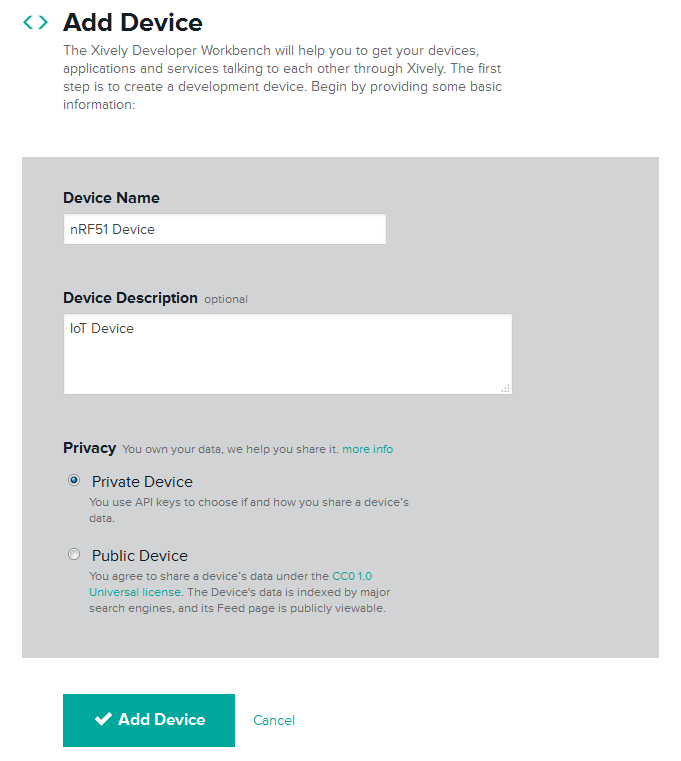
Xively will automatically create the Feed ID and API Key that you need for connecting your device.
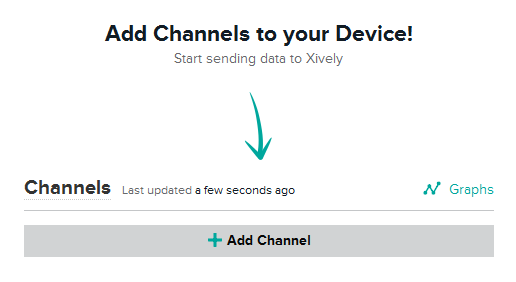
Xively channels enable bidirectional exchange of datapoints between the Xively platform and IoT devices or services.
Add a new channel by clicking the Add Channel button (Figure 4).
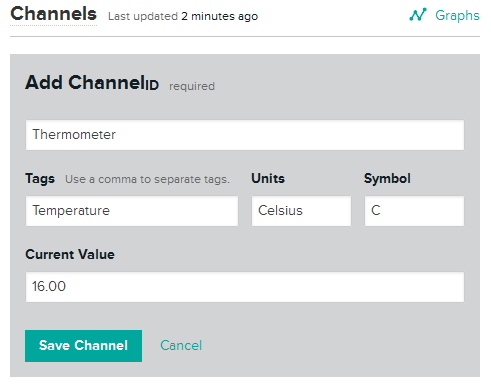
Each datastream represents a specific attribute, unit, or type of information, for example readings from a sensor or commands from an app. To be aligned with the example, use the settings from the image below (Figure 5).
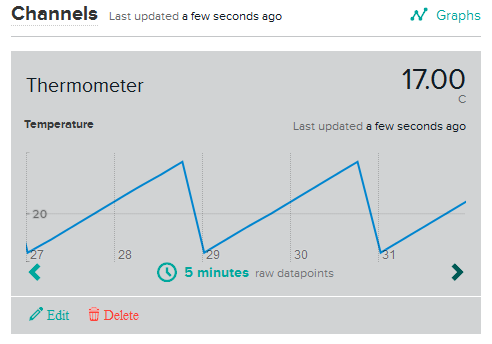
Xively contains an option to represent data in graphical form. Click the Graphs button at top right in the Channels dialog for the channel you created.
Having completed your setup of nRF51 kits using the ready-made examples, when the graph appears on the screen after a short while, you should see a graph that looks like the image below (Figure 6). The temperature values should be in the range of 17.00 to 24.00 °C.
 1.8.3.1
